dmesg命令对于设备故障的诊断是非常重要的。在dmesg命令的帮助下进行硬件的连接或断开连接操作时,我们可以看到硬件的检测或者断开连接的信息。dmesg命令在多数基于Linux和Unix的操作系统中都可以使用。
下面我们展示一些最负盛名的dmesg命令工具以及其实际使用举例。
dmesg命令的使用语法如下。
# dmesg [options…]
1. 列出加载到内核中的所有驱动
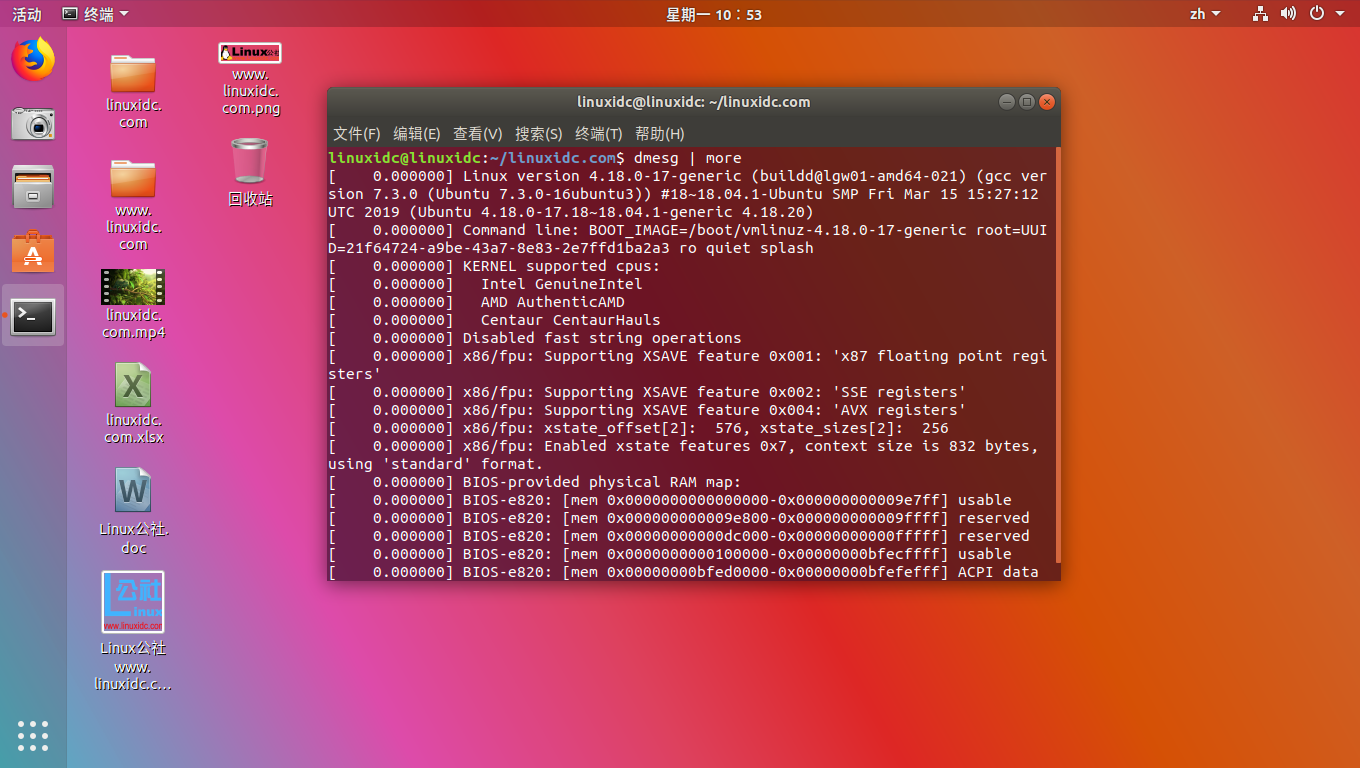
我们可以使用如‘more’。 ‘tail’, ‘less ’或者‘grep’文字处理工具来处理‘dmesg’命令的输出。由于dmesg日志的输出不适合在一页中完全显示,因此我们使用管道(pipe)将其输出送到more或者less命令单页显示。
linuxidc@linuxidc:~/linuxidc.com$ dmesg | more
[ 0.000000] Linux version 4.18.0-17-generic (buildd@lgw01-amd64-021) (gcc ver
sion 7.3.0 (Ubuntu 7.3.0-16ubuntu3)) #18~18.04.1-Ubuntu SMP Fri Mar 15 15:27:12
UTC 2019 (Ubuntu 4.18.0-17.18~18.04.1-generic 4.18.20)
[ 0.000000] Command line: BOOT_IMAGE=/boot/vmlinuz-4.18.0-17-generic root=UUI
D=21f64724-a9be-43a7-8e83-2e7ffd1ba2a3 ro quiet splash
[ 0.000000] KERNEL supported cpus:
[ 0.000000] Intel GenuineIntel
[ 0.000000] AMD AuthenticAMD
[ 0.000000] Centaur CentaurHauls
[ 0.000000] Disabled fast string operations
[ 0.000000] x86/fpu: Supporting XSAVE feature 0x001: ‘x87 floating point regi
sters’
[ 0.000000] x86/fpu: Supporting XSAVE feature 0x002: ‘SSE registers’
[ 0.000000] x86/fpu: Supporting XSAVE feature 0x004: ‘AVX registers’
[ 0.000000] x86/fpu: xstate_offset[2]: 576, xstate_sizes[2]: 256
[ 0.000000] x86/fpu: Enabled xstate features 0x7, context size is 832 bytes,
using ‘standard‘ format.
[ 0.000000] BIOS–provided physical RAM map:
[ 0.000000] BIOS-e820: [mem 0x0000000000000000-0x000000000009e7ff] usable
[ 0.000000] BIOS-e820: [mem 0x000000000009e800-0x000000000009ffff] reserved
[ 0.000000] BIOS-e820: [mem 0x00000000000dc000-0x00000000000fffff] reserved
[ 0.000000] BIOS-e820: [mem 0x0000000000100000-0x00000000bfecffff] usable
[ 0.000000] BIOS-e820: [mem 0x00000000bfed0000-0x00000000bfefefff] ACPI data
—更多—
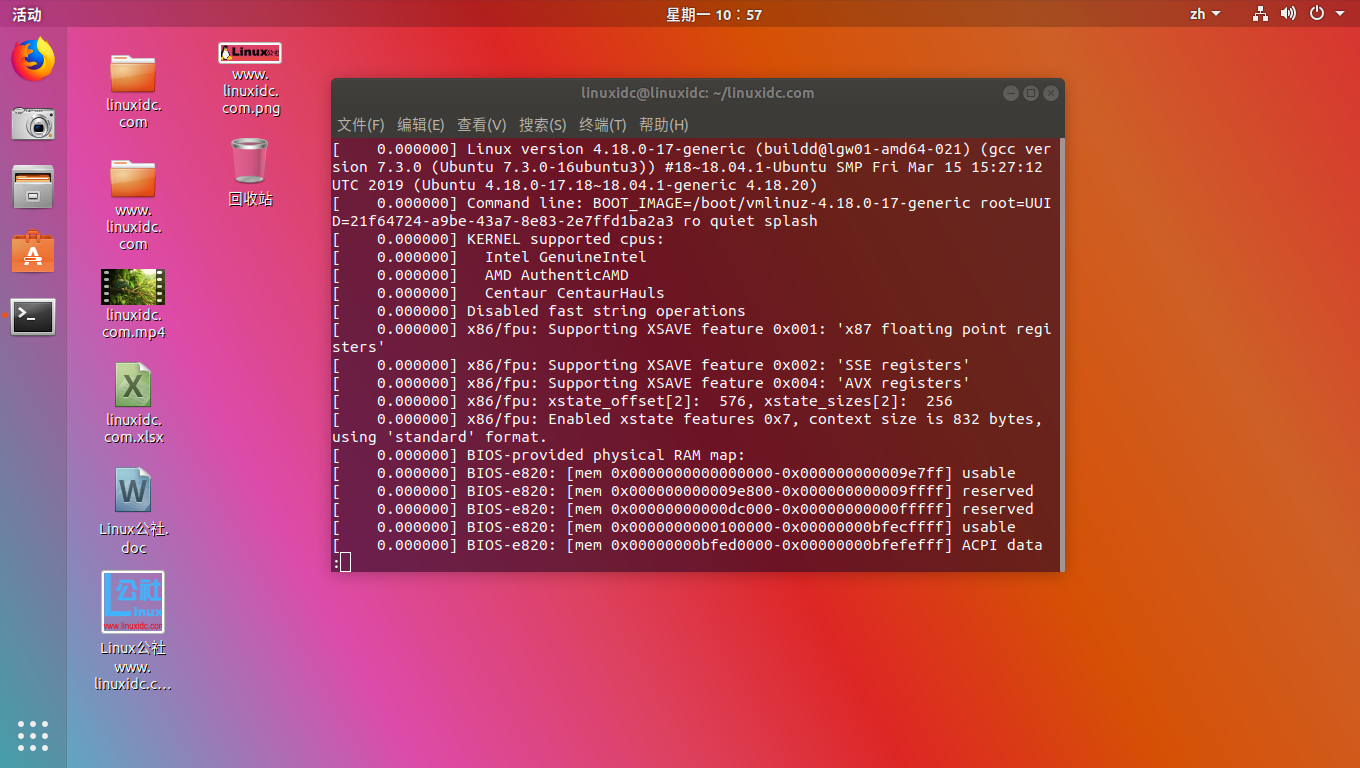
linuxidc@linuxidc:~/linuxidc.com$ dmesg | less
2. 列出所有被检测到的硬件
要显示所有被内核检测到的硬盘设备,你可以使用‘grep’命令搜索‘sda’关键词,如下:
linuxidc@linuxidc:~/linuxidc.com$ dmesg | grep sda
[ 3.323824] sd 26:0:0:0: [sda] 125829120 512-byte logical blocks: (64.4 GB/60.0 GiB)
[ 3.323848] sd 26:0:0:0: [sda] Write Protect is off
[ 3.323850] sd 26:0:0:0: [sda] Mode Sense: 61 00 00 00
[ 3.323886] sd 26:0:0:0: [sda] Cache data unavailable
[ 3.323887] sd 26:0:0:0: [sda] Assuming drive cache: write through
[ 3.325104] sda: sda1
[ 3.325583] sd 26:0:0:0: [sda] Attached SCSI disk
[ 3.690525] EXT4-fs (sda1): mounted filesystem with ordered data mode. Opts: (null)
[ 4.265965] EXT4-fs (sda1): re-mounted. Opts: errors=remount-ro
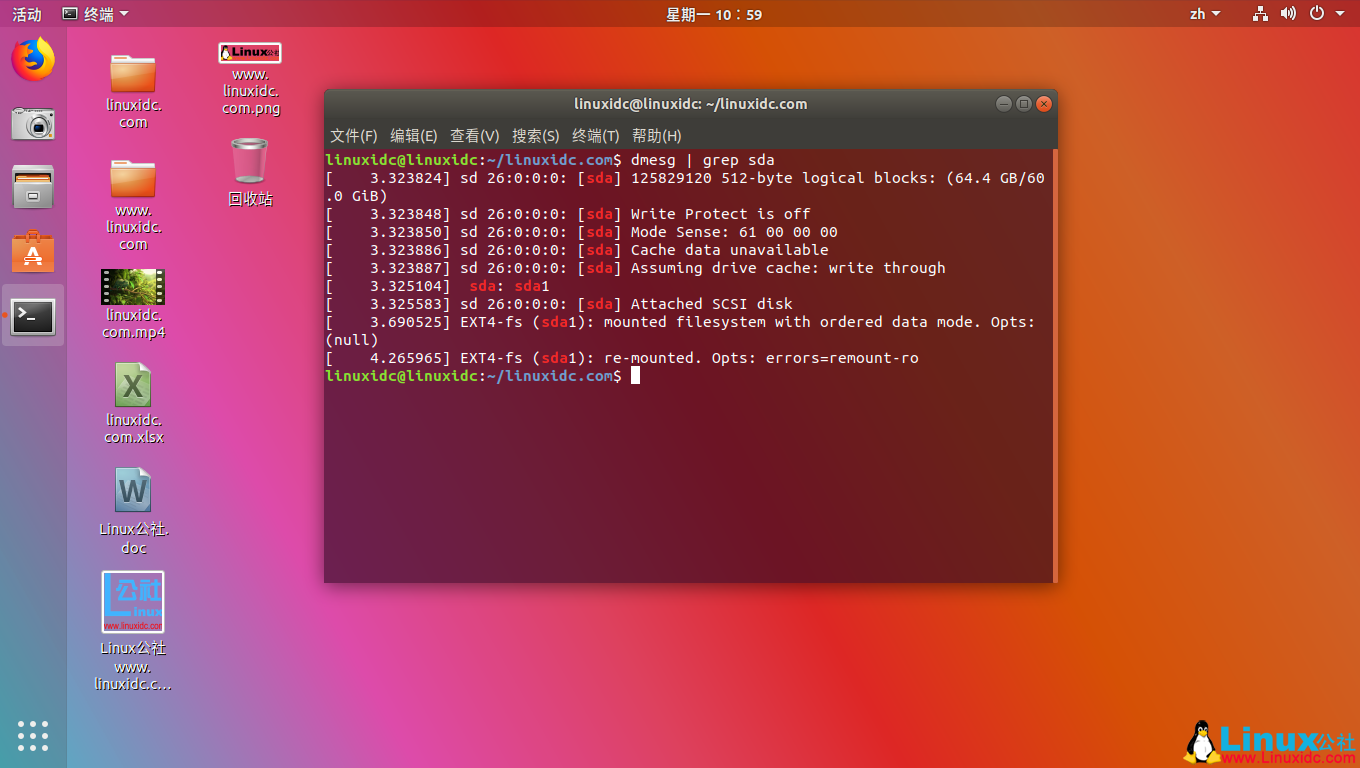
注解 ‘sda’表示第一块 SATA硬盘,‘sdb’表示第二块SATA硬盘。若想查看IDE硬盘搜索‘hda’或‘hdb’关键词。
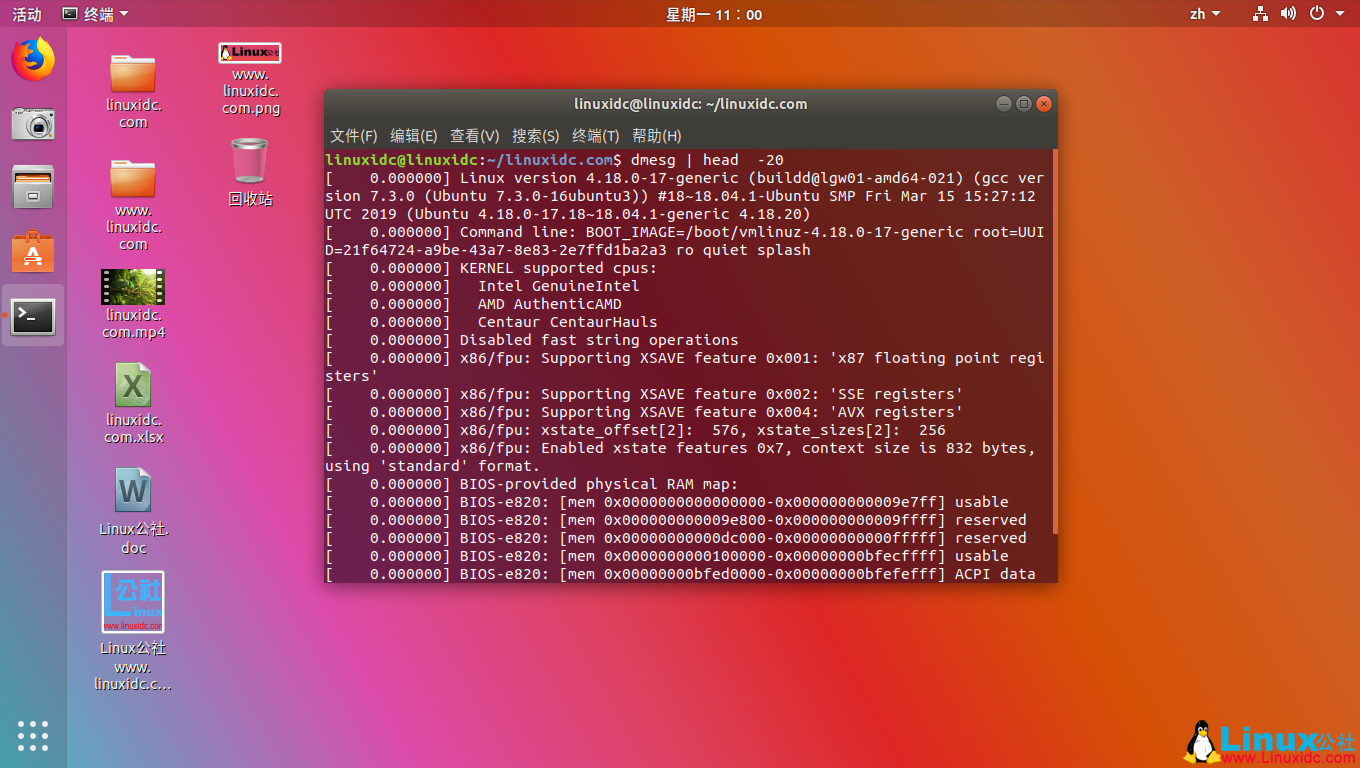
3. 只输出dmesg命令的前20行日志
在‘dmesg’命令后跟随‘head’命令来显示开始几行,‘dmesg | head -20′命令将显示开始的前20行。
[ 0.000000] AMD AuthenticAMD
[ 0.000000] Centaur CentaurHauls
[ 0.000000] Disabled fast string operations
[ 0.000000] x86/fpu: Supporting XSAVE feature 0x001: ‘x87 floating point registers’
[ 0.000000] x86/fpu: Supporting XSAVE feature 0x002: ‘SSE registers’
[ 0.000000] x86/fpu: Supporting XSAVE feature 0x004: ‘AVX registers’
[ 0.000000] x86/fpu: xstate_offset[2]: 576, xstate_sizes[2]: 256
[ 0.000000] x86/fpu: Enabled xstate features 0x7, context size is 832 bytes, using ‘standard’ format.
[ 0.000000] BIOS-provided physical RAM map:
[ 0.000000] BIOS-e820: [mem 0x0000000000000000-0x000000000009e7ff] usable
[ 0.000000] BIOS-e820: [mem 0x000000000009e800-0x000000000009ffff] reserved
[ 0.000000] BIOS-e820: [mem 0x00000000000dc000-0x00000000000fffff] reserved
[ 0.000000] BIOS-e820: [mem 0x0000000000100000-0x00000000bfecffff] usable
[ 0.000000] BIOS-e820: [mem 0x00000000bfed0000-0x00000000bfefefff] ACPI data
[ 0.000000] BIOS-e820: [mem 0x00000000bfeff000-0x00000000bfefffff] ACPI NVS
[ 0.000000] BIOS-e820: [mem 0x00000000bff00000-0x00000000bfffffff] usable
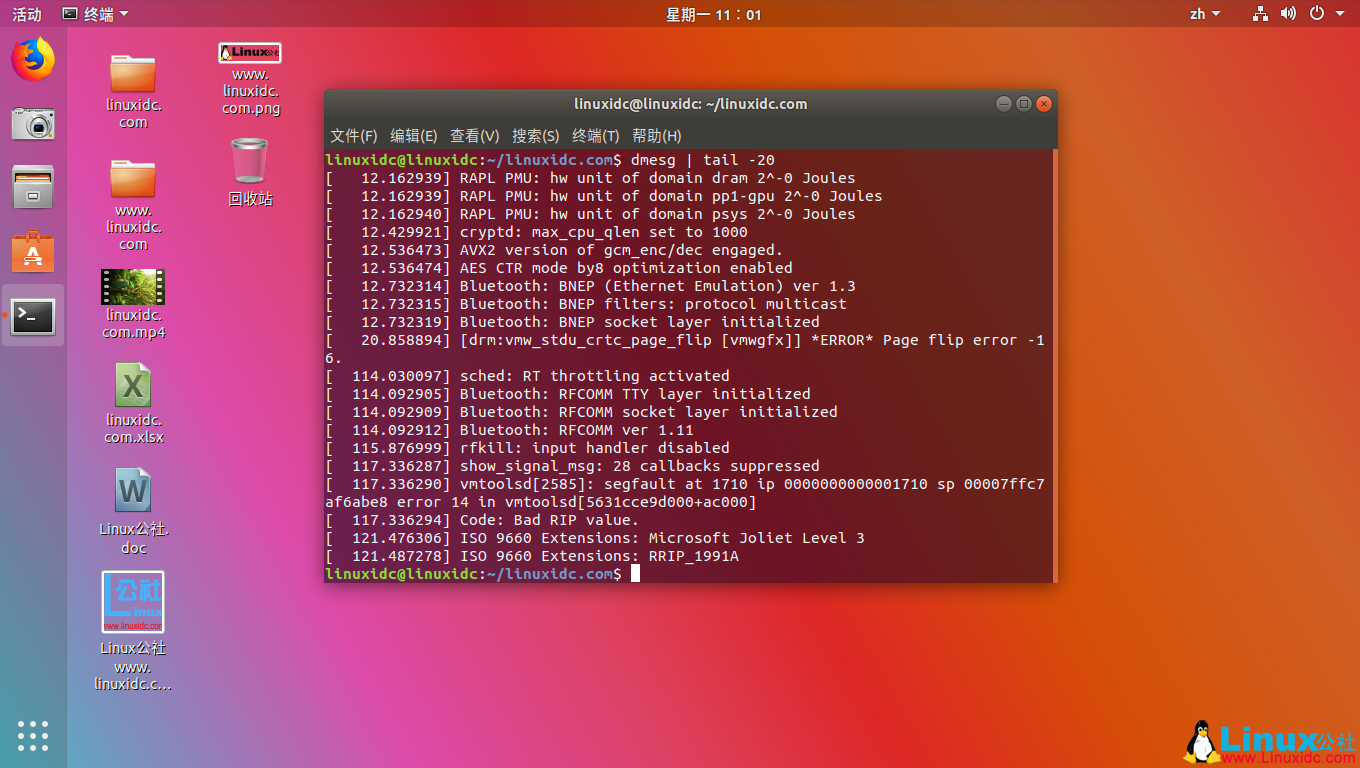
4. 只输出dmesg命令最后20行日志
在‘dmesg’命令后跟随‘tail’命令(‘ dmesg | tail -20’)来输出‘dmesg’命令的最后20行日志,当你插入可移动设备时它是非常有用的。
linuxidc@linuxidc:~/linuxidc.com$ dmesg | tail -20
[ 12.162939] RAPL PMU: hw unit of domain dram 2^-0 Joules
[ 12.162939] RAPL PMU: hw unit of domain pp1-gpu 2^-0 Joules
[ 12.162940] RAPL PMU: hw unit of domain psys 2^-0 Joules
[ 12.429921] cryptd: max_cpu_qlen set to 1000
[ 12.536473] AVX2 version of gcm_enc/dec engaged.
[ 12.536474] AES CTR mode by8 optimization enabled
[ 12.732314] Bluetooth: BNEP (Ethernet Emulation) ver 1.3
[ 12.732315] Bluetooth: BNEP filters: protocol multicast
[ 12.732319] Bluetooth: BNEP socket layer initialized
[ 20.858894] [drm:vmw_stdu_crtc_page_flip [vmwgfx]] *ERROR* Page flip error -16.
[ 114.030097] sched: RT throttling activated
[ 114.092905] Bluetooth: RFCOMM TTY layer initialized
[ 114.092909] Bluetooth: RFCOMM socket layer initialized
[ 114.092912] Bluetooth: RFCOMM ver 1.11
[ 115.876999] rfkill: input handler disabled
[ 117.336287] show_signal_msg: 28 callbacks suppressed
[ 117.336290] vmtoolsd[2585]: segfault at 1710 ip 0000000000001710 sp 00007ffc7af6abe8 error 14 in vmtoolsd[5631cce9d000+ac000]
[ 117.336294] Code: Bad RIP value.
[ 121.476306] ISO 9660 Extensions: Microsoft Joliet Level 3
[ 121.487278] ISO 9660 Extensions: RRIP_1991A
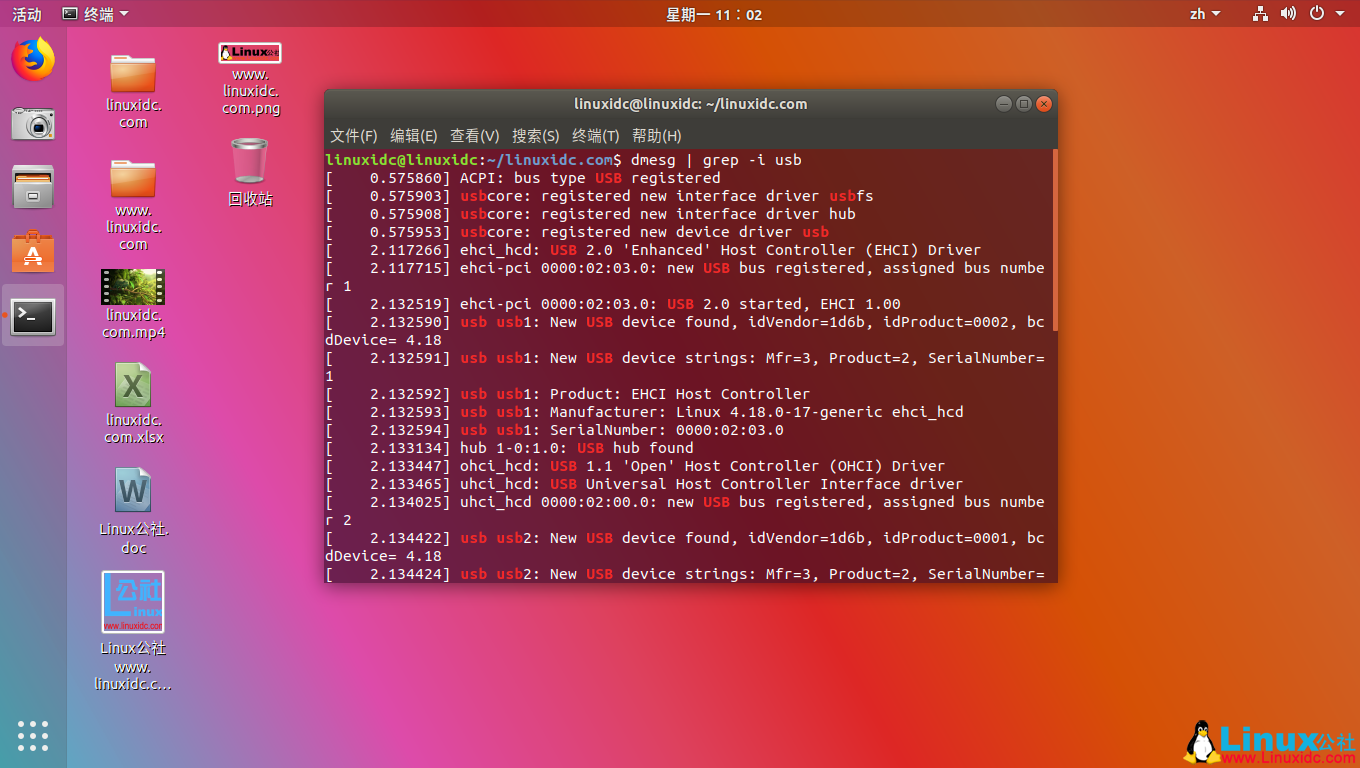
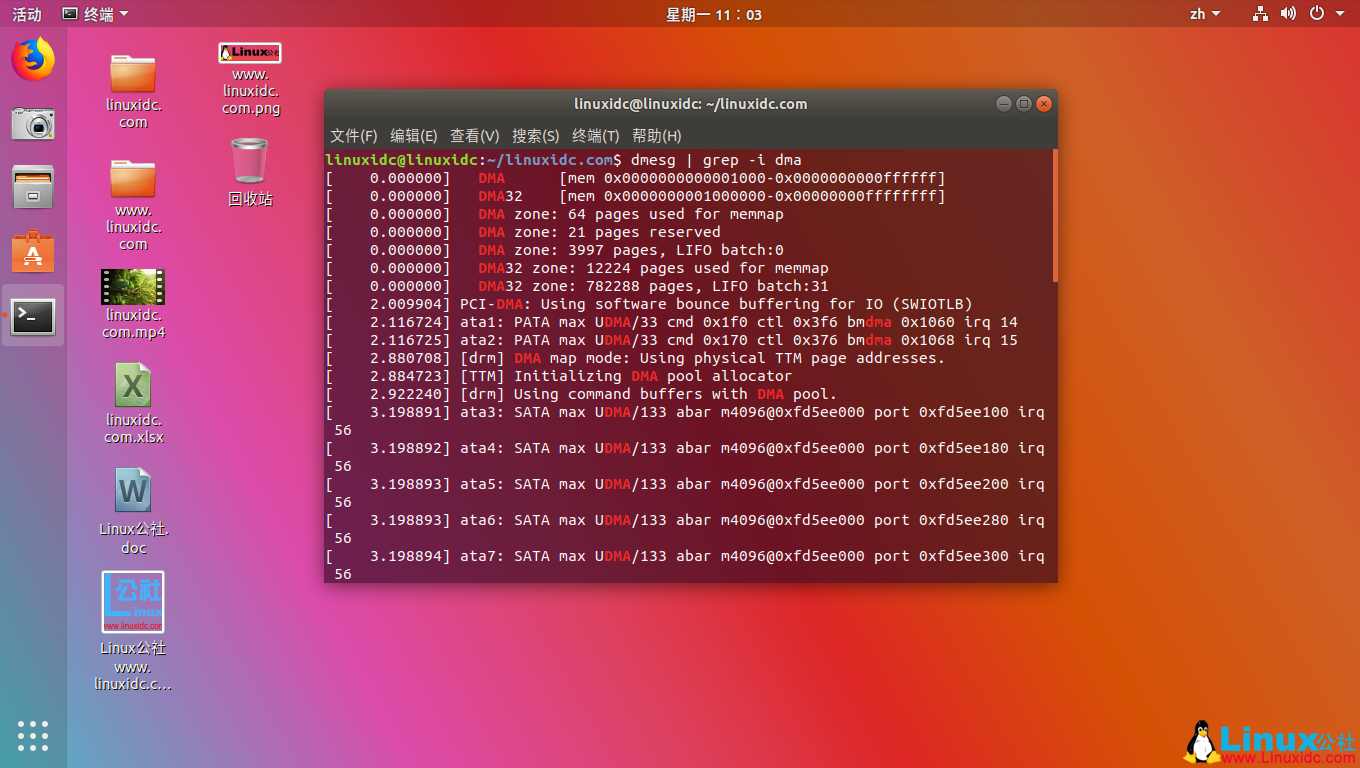
5. 搜索包含特定字符串的被检测到的硬件
由于‘dmesg’命令的输出实在太长了,在其中搜索某个特定的字符串是非常困难的。因此,有必要过滤出一些包含‘usb’ ‘dma’ ‘tty’ ‘memory’等字符串的日志行。grep 命令 的‘-i’选项表示忽略大小写。
linuxidc@linuxidc:~/linuxidc.com$ dmesg | grep -i usb
linuxidc@linuxidc:~/linuxidc.com$ dmesg | grep -i dma
[ 0.000000] DMA [mem 0x0000000000001000-0x0000000000ffffff]
[ 0.000000] DMA32 [mem 0x0000000001000000-0x00000000ffffffff]
[ 0.000000] DMA zone: 64 pages used for memmap
[ 0.000000] DMA zone: 21 pages reserved
[ 0.000000] DMA zone: 3997 pages, LIFO batch:0
[ 0.000000] DMA32 zone: 12224 pages used for memmap
[ 0.000000] DMA32 zone: 782288 pages, LIFO batch:31
[ 2.009904] PCI-DMA: Using software bounce buffering for IO (SWIOTLB)
[ 2.116724] ata1: PATA max UDMA/33 cmd 0x1f0 ctl 0x3f6 bmdma 0x1060 irq 14
[ 2.116725] ata2: PATA max UDMA/33 cmd 0x170 ctl 0x376 bmdma 0x1068 irq 15
[ 2.880708] [drm] DMA map mode: Using physical TTM page addresses.
[ 2.884723] [TTM] Initializing DMA pool allocator
[ 2.922240] [drm] Using command buffers with DMA pool.
linuxidc@linuxidc:~/linuxidc.com$ grep -i tty
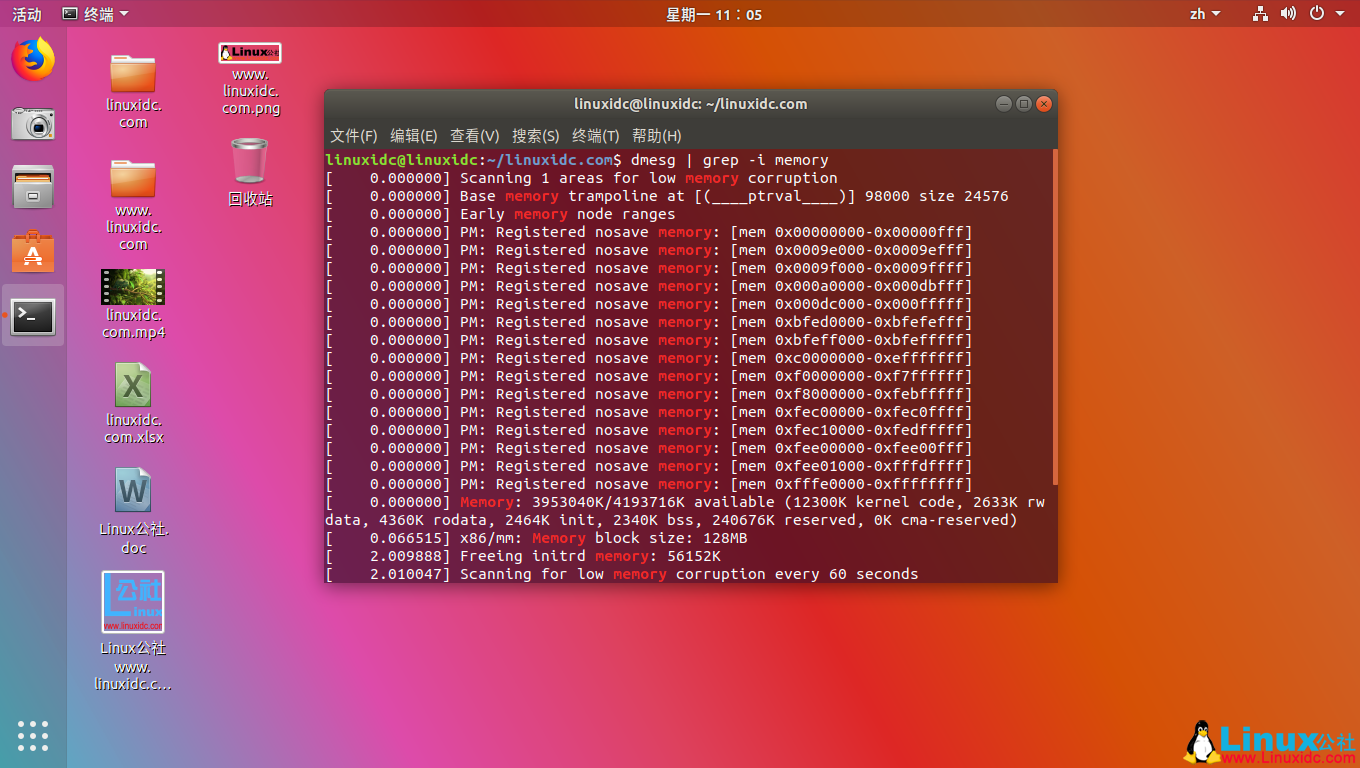
linuxidc@linuxidc:~/linuxidc.com$ dmesg | grep -i memory
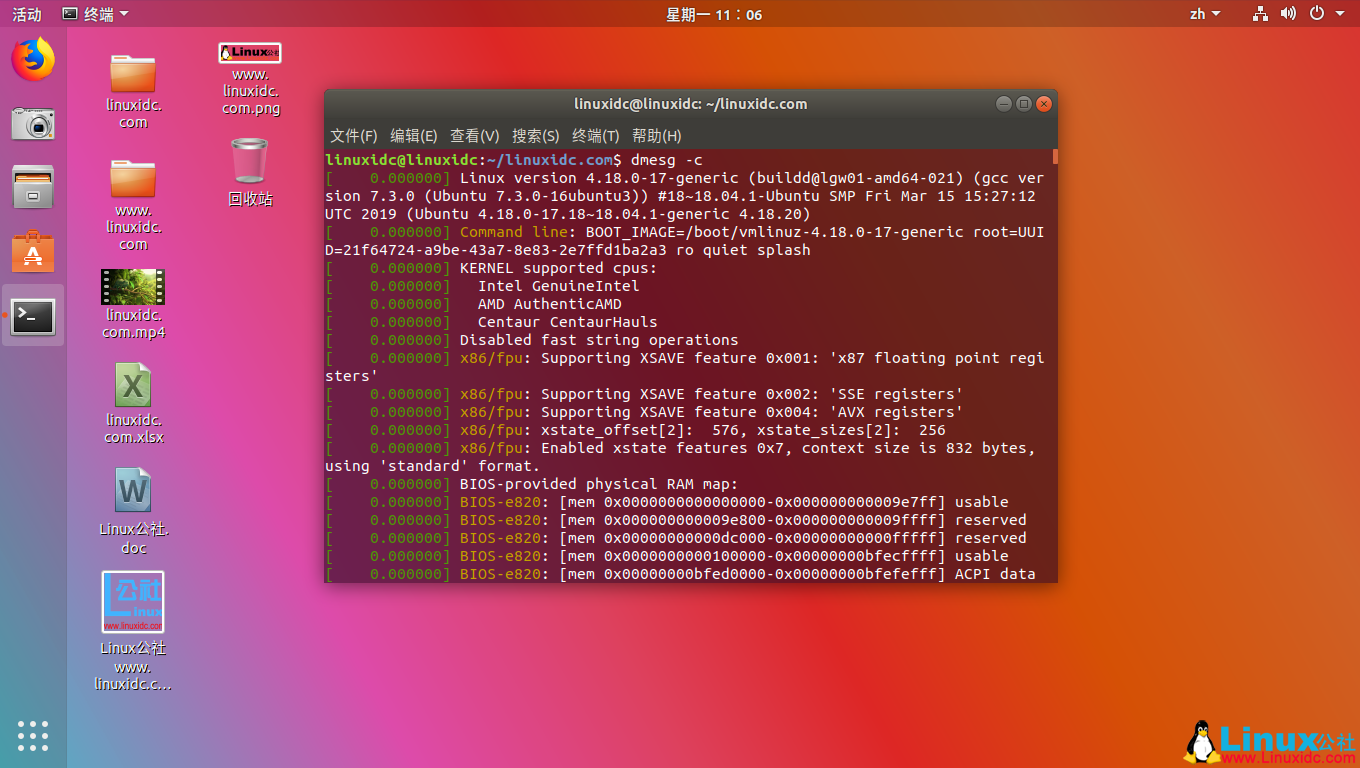
6. 清空dmesg缓冲区日志
我们可以使用如下命令来清空dmesg的日志。该命令会清空dmesg环形缓冲区中的日志。但是你依然可以查看存储在‘/var/log/dmesg’文件中的日志。你连接任何的设备都会产生dmesg日志输出。
linuxidc@linuxidc:~/linuxidc.com$ dmesg -c
[ 0.000000] Linux version 4.18.0-17-generic (buildd@lgw01-amd64-021) (gcc version 7.3.0 (Ubuntu 7.3.0-16ubuntu3)) #18~18.04.1-Ubuntu SMP Fri Mar 15 15:27:12 UTC 2019 (Ubuntu 4.18.0-17.18~18.04.1-generic 4.18.20)
[ 0.000000] Command line: BOOT_IMAGE=/boot/vmlinuz-4.18.0-17-generic root=UUID=21f64724-a9be-43a7-8e83-2e7ffd1ba2a3 ro quiet splash
7. 实时监控dmesg日志输出
在某些发行版中可以使用命令‘tail -f /var/log/dmesg’来实时监控dmesg的日志输出。
linuxidc@linuxidc:~/linuxidc.com$ watch “dmesg | tail -20”
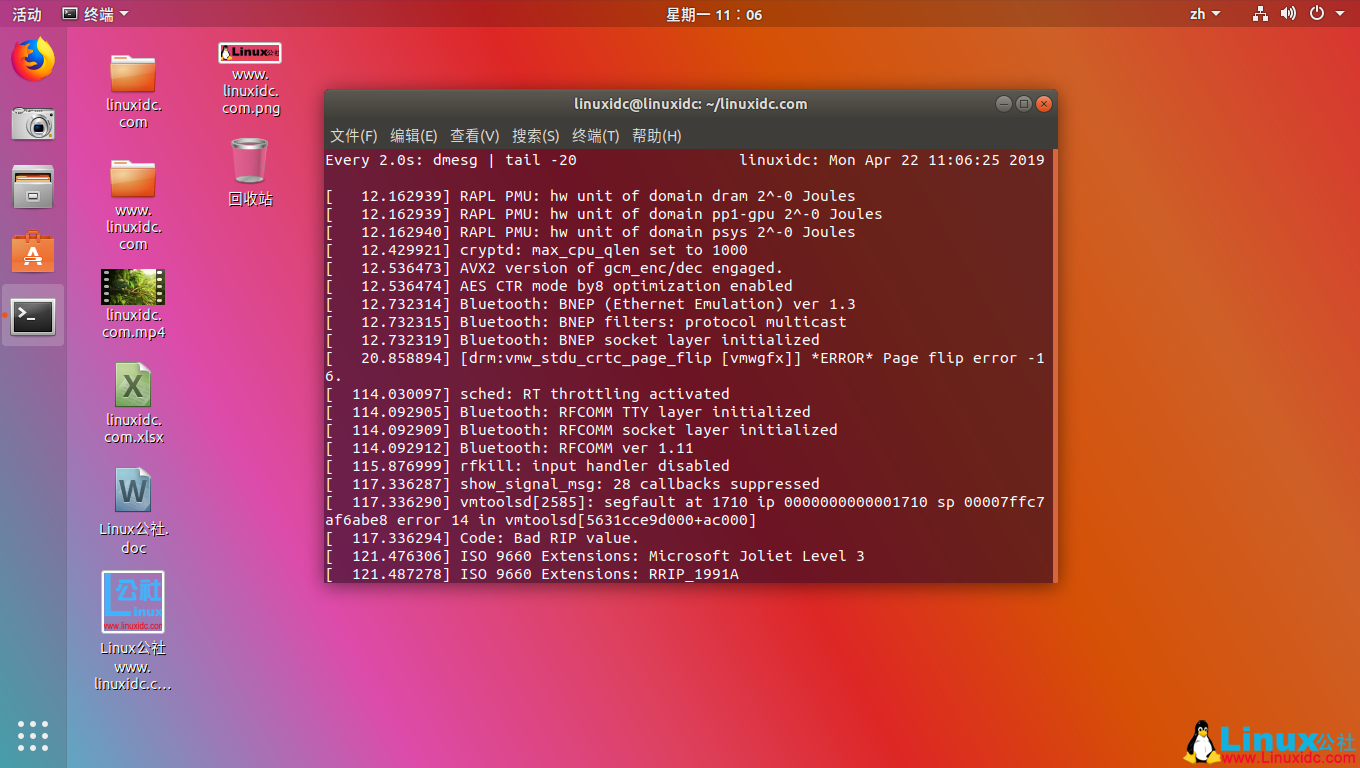
结论:dmesg命令在系统dmesg记录实时更改或产生的情况下是非常有用的。你可以使用man dmesg来获取更多关于dmesg的信息。
2019年,大多数Linux发行版仍然没有限制Dmesg的访问 https://www.linuxidc.com/Linux/2019-04/158222.htm