记录在Ubuntu 18.04下源码编译安装 PHP 7.3的过程步骤。
0.下载PHP源代码
首先需要从PHP官网下载PHP7.3.1的源代码,保存为php-7.3.1.tar.xz。
http://cn2.php.net/distributions/php-7.3.1.tar.xz
在上述文件保存的目录中打开终端,使用命令将其解压,并使用cd进入解压后的目录
tar -xvJf ./php-7.3.1.tar.xz
cd php-7.3.1
1.安装依赖
其次,需要安装一些编译PHP所需要的依赖
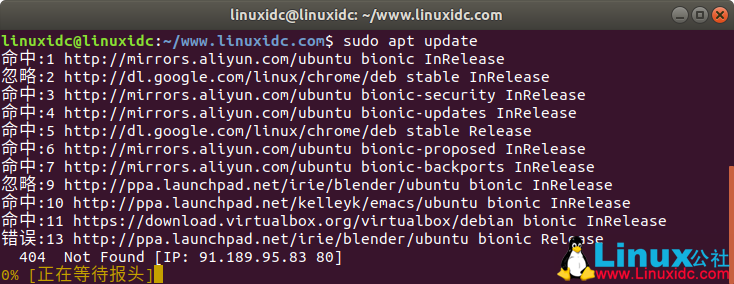
sudo apt update
sudo apt install gcc
sudo apt install make
sudo apt install openssl
sudo apt install curl
sudo apt install libbz2-dev
sudo apt install libxml2-dev
sudo apt install libjpeg-dev
sudo apt install libpng-dev
sudo apt install libfreetype6-dev
sudo apt install libzip-dev
2.配置PHP
在编译前,需要对PHP进行配置,以供其生成对应的makefile文件
./configure –prefix=/usr/local/php –with-config-file-path=/usr/local/php/etc –enable-fpm –with-fpm-user=www –with-fpm-group=www –with-mysqli –with-pdo-mysql –with-iconv-dir –with-freetype-dir –with-jpeg-dir –with-png-dir –with-zlib –with-libxml-dir=/usr –enable-xml –disable-rpath –enable-bcmath –enable-shmop –enable-sysvsem –enable-inline-optimization –with-curl –enable-mbregex –enable-mbstring –enable-ftp –with-gd –with-openssl –with-mhash –enable-pcntl –enable-sockets –with-xmlrpc –enable-zip –enable-soap –without-pear –with-gettext –disable-fileinfo –enable-maintainer-zts
配置成功后会出现如下字样
+——————————————————————–+
| License: |
| This software is subject to the PHP License, available in this |
| distribution in the file LICENSE. By continuing this installation |
| process, you are bound by the terms of this license agreement. |
| If you do not agree with the terms of this license, you must abort |
| the installation process at this point. |
+——————————————————————–+
Thank you for using PHP.
在这一步中,如果出现无法找到某个依赖的情况,可以尝试使用sudo apt install来重新安装一下没有找到的依赖。
3.编译并安装PHP
在完成配置后,可以直接使用make来进行编译,可以使用参数-j来指定编译线程数量来多线程编译
make -j4
编译需要一段比较长的时间,请稍作等待,编译成功后会输出如下内容
Build complete.
Don’t forget to run ‘make test’.
然后执行以下命令进行安装
sudo make install
执行完成后,PHP将会被安装到/usr/local/php/。
4.验证PHP
可以使用如下指令来输出PHP的版本,来验证是否正确安装
/usr/local/php/bin/php -v
如果正确安装,将会出现如下内容
PHP 7.3.1 (cli) (built: Jan 18 2019 20:11:04) ( ZTS )
Copyright (c) 1997-2018 The PHP Group
Zend Engine v3.3.1, Copyright (c) 1998-2018 Zend Technologies
到这一步为止,PHP7.3.1便成功从源代码编译安装了。
5.复制php.ini
编译安装后的目录并不会有现成的php.ini,需要手动复制过去。
在解压出来的源代码目录中,有供开发环境使用的php.ini-development和供生产环境使用的php.ini-production。
输入命令来复制(以开发环境为例)
sudo cp php.ini-development /usr/local/php/etc/php.ini